Water-marbling is one of those sneaky DIY pins that does actually work exactly as described… if you’re already familiar with the “best practices” of nail polish. If manicures aren’t something you do every day, this project can wind up being a disaster of epic dimensions that looks nothing like the perfect swirls we admired in the photograph.
The good news is that there’s help! Here’s a list of tricks that helped me get my marbling just right.
1) Use quality nail polish. This is the absolute biggest thing you can do to improve this project. I know that salon-quality polishes are intimidatingly expensive, but drugstore brands like Sinful and Wet & Wild simply aren’t going to cut it. You need about 16 coats of Sinful to get the same depth of color that you get with a single coat of OPI! Trust me; if you want your nails to look good, you want to use good polish. OPI and China Glaze are my favorites but Gigi, Zoya and Shisem will probably work as well. I’d love to hear about what else works for you.
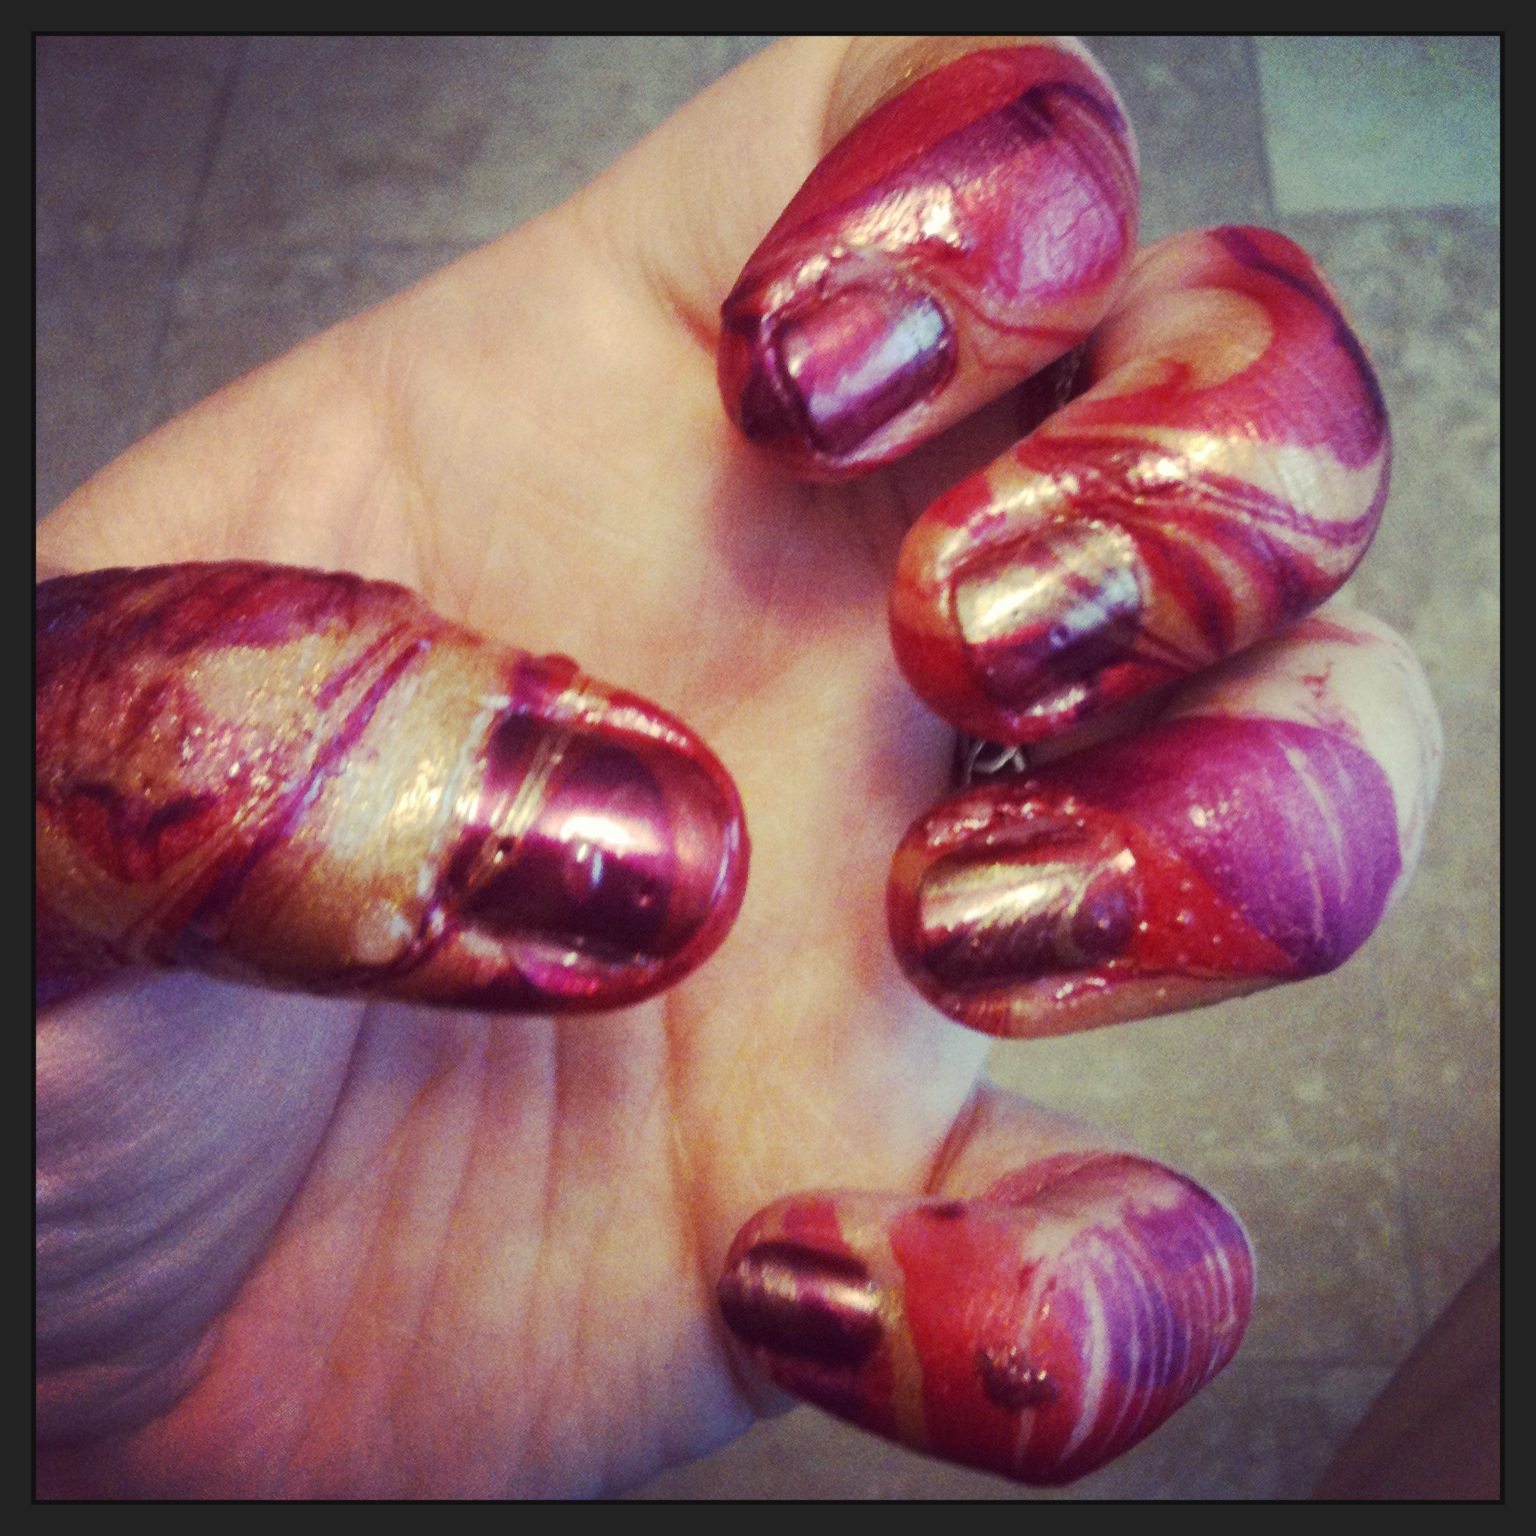
Don’t be afraid to get messy. Even if you’re doing it right, this is what your hands will look like before you’re done!
2) Protect your skin. This is a massively messy project even if you do it right so be prepared for a certain amount of cleanup. This can be minimized, though, if you prep your skin beforehand. Coating your fingers in Vaseline before dipping makes it easy to simply peel off the excess polish once it’s dry (but be careful not to get the Vaseline on your nails or the polish won’t adhere where you DO want it!)
3) Use a white or very light base color. Bright bases will give your colors real pop and put the emphasis where it should be: on the marbling patterns. Darker bases create a much more subtle effect where the marbling isn’t very visible unless someone’s looking really closely at your hands.
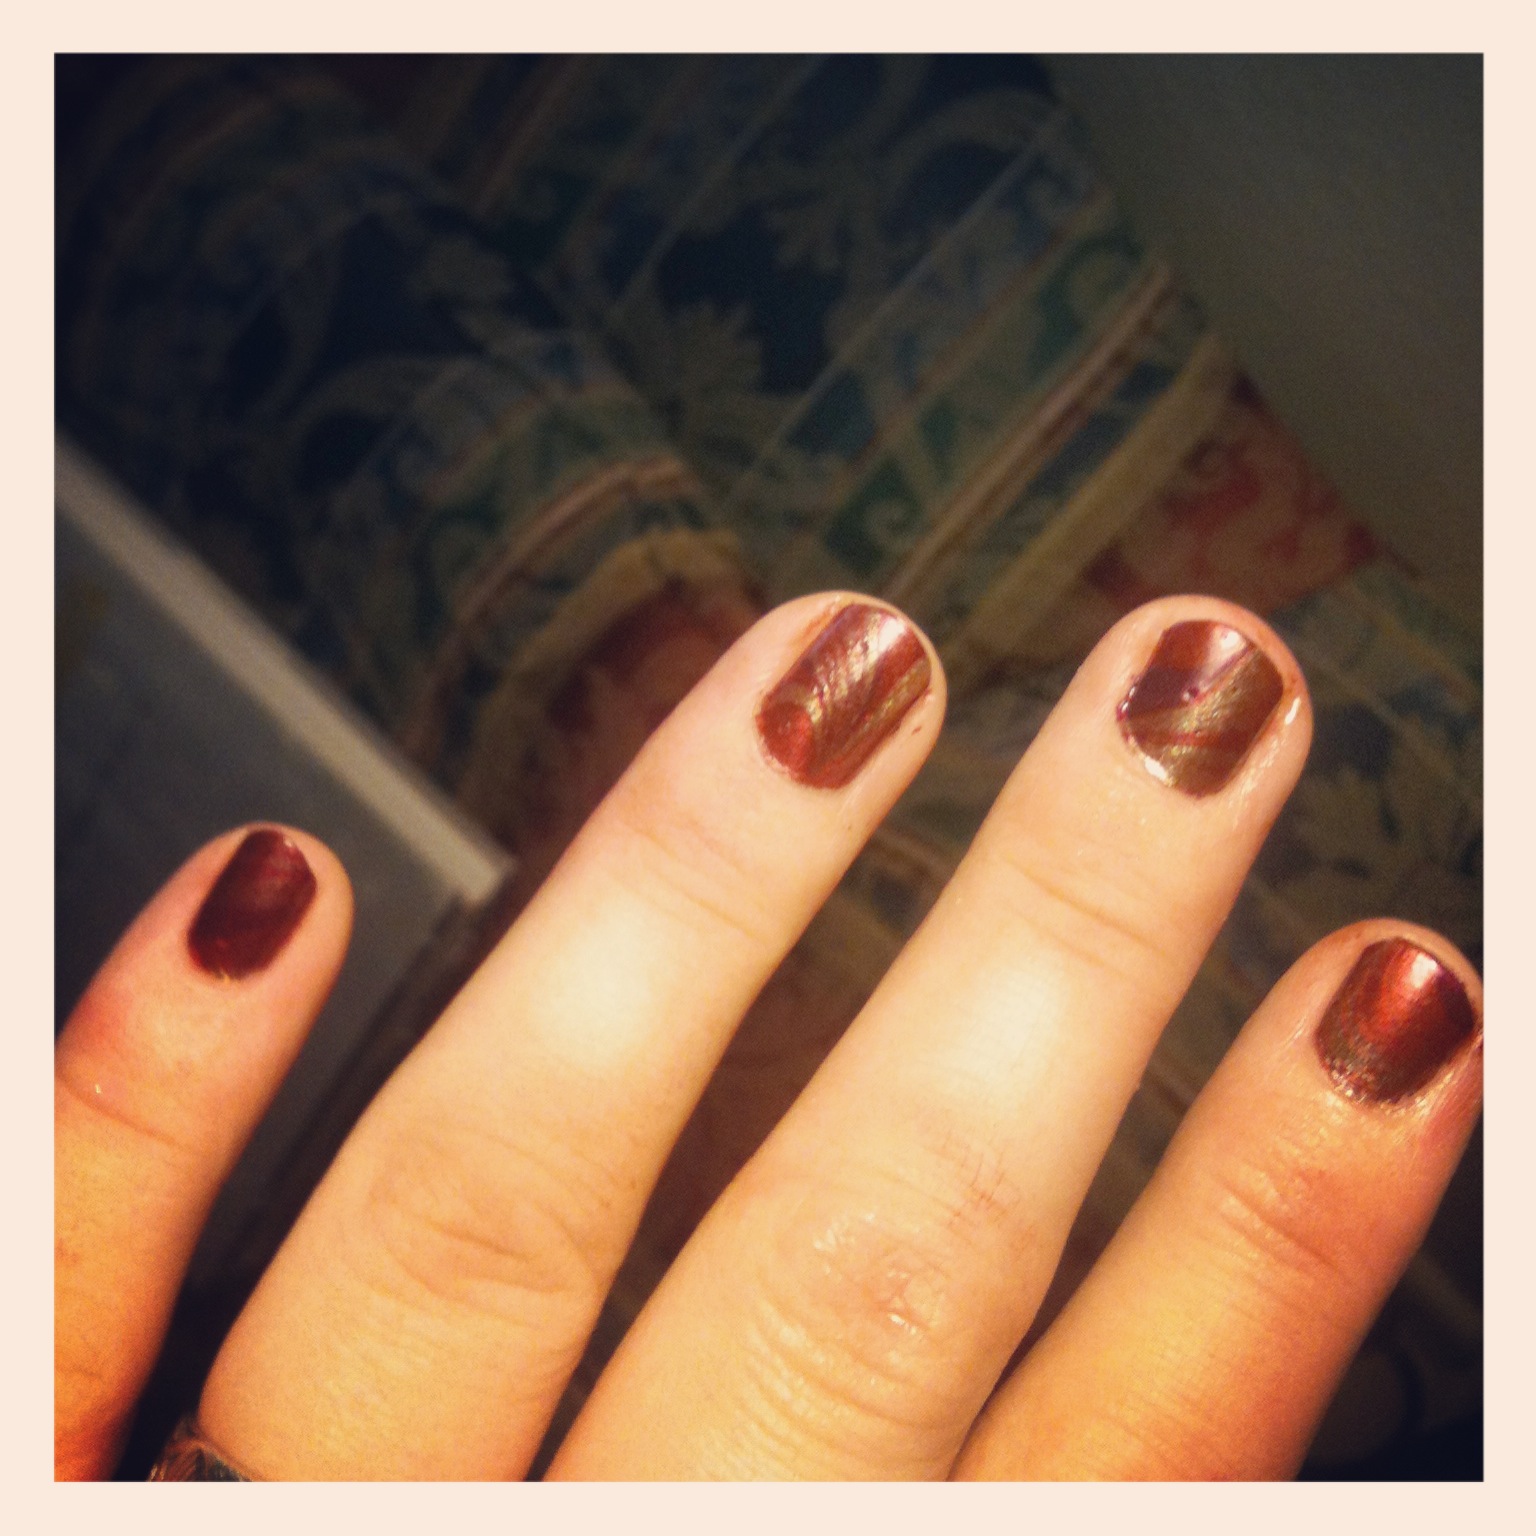
You’ll want to use a white or bright base color. I used a deep red and the marbling is too subtle to see clearly.
4) Use the smallest water bowl you can get away with. The bigger the bowl you use, the more droplets of polish you have to use to get the thick bold surface area you want, which means the polish has longer to dry before you get your fingers into it and you can wind up with polish that doesn’t stick. Aim for a really small bowl or glass that’s just big enough to fit one or two knuckles in.
5) Dip slowly (but not too slowly!) One of the trickier parts of this process is avoiding air & water bubbles. It’s just plain hard. Don’t be afraid to give yourself a practice round – or several – to figure out the best way to dip your nails in order to avoid bubbling.
5) Think small. If you’re doing this on your natural nails rather than mile-long acrylics, your canvas isn’t very big. You’ll want to make your marbling patterns pretty small. Otherwise you may wind up with just two or three uneven stripes of color.
That should be enough to get you through the process, but if you still need extra tips, watch some videos. YouTube is an incredibly helpful resource in this instance. Just search for “water marbling.” Watching someone follow the directions can be a lot easier than trying to follow them on your own.


